Upgrade from PMM 2 to PMM 3
PMM 3 introduces significant architectural changes that require gradual transition from PMM 2:
Step 1: Update PMM 2 Server to the latest version
{.power-number}
- From the Home page, scroll to the PMM Upgrade panel and click the Refresh button to manually check for updates.
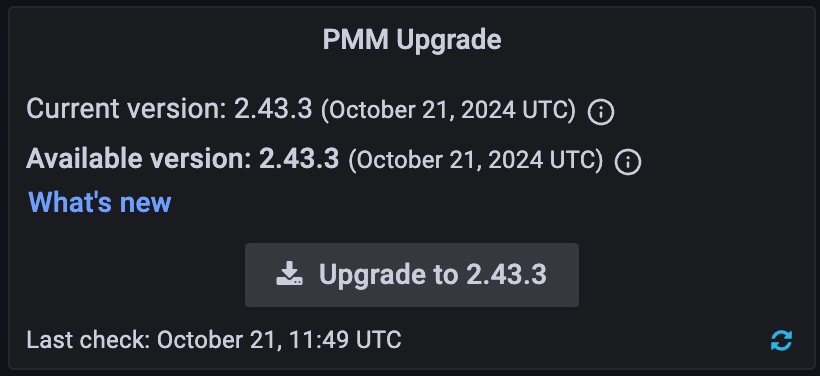
- If an update is available, click the Update button to install the latest PMM 2 version.
- Verify the update was successful by checking the version number after the update completes.
Step 2: Upgrade PMM 2 Server to PMM 3
Follow these manual steps to upgrade your PMM 2 Server to PMM 3:
-
Pull the new PMM 3 Server Docker image:
docker pull percona/pmm-server:3 ```1. Stop all services of the PMM 2 server container: ```sh docker exec -t pmm-server supervisorctl stop all -
Transfer ownership of all directories and files in the
/srvdirectory to the pmm user:docker exec -t pmm-server chown -R pmm:pmm /srv -
Stop and remove the PMM 2 server container:
docker stop pmm-server && docker rm pmm-server -
Run a new container based on the PMM 3 image, ensuring you pass the same pmm-data volume:
docker run -d -p 80:8080 -p 443:8443 -v pmm-data:/srv --name pmm-server --restart always percona/pmm-server:3
- Verify that the new PMM 3 Server container is running and accessible through the UI.
Step 3: Upgrade PMM 2 Clients to PMM 3
Important
Support of PMM 2 Clients by PMM 3 Server will be limited to metrics and Query Analytics (QAN) only. This limited support will be dropped in PMM 3.3.
Depending on your initial installation method, update PMM Clients using your operating system’s package manager or by updating from a tarball. For detailed instructions, see the Upgrade PMM Client topic.
Post-upgrade steps
After you finish migrating:
- Verify that all clients are up to date by checking PMM Configuration > Updates.
- Confirm all previously monitored services are reporting correctly to the new PMM 3 Server by reviewing Configuration > PMM Inventory > Services.
- Check the dashboards to make sure you’re receiving the metrics information, QAN data.
Get expert help
If you need assistance, you can find comprehensive and free database knowledge on our community forum or blog posts. For professional support and services, contact our Percona Database Experts.